
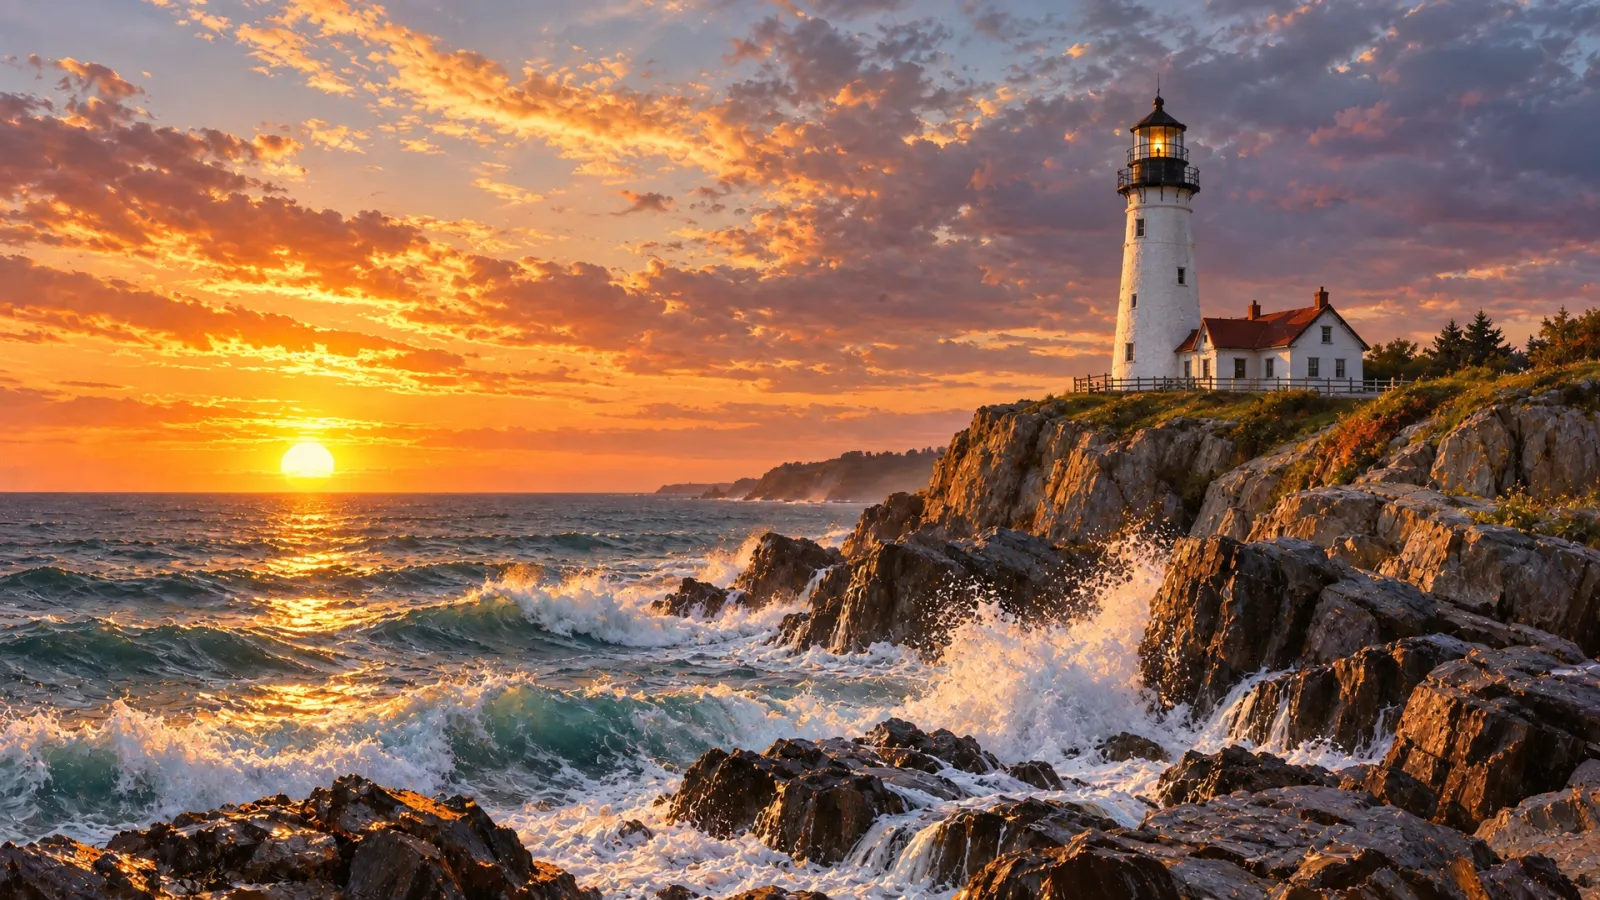
Topaz Image Upscale enlarges an existing image by up to 4×, with specialized enhancement choices and optional face recovery. On Raywake, prices depend on output size: $0.13 per image up to 24 MP, $0.26 up to 48 MP, $0.51 up to 96 MP and $2.16 up to 512 MP. It requires an image URL and can return JPEG or PNG; it does not use a text prompt.
Topaz Image Upscale is for an image you already have, such as a photograph, illustration or rendered asset. Start by identifying the destination size and the details that must survive enlargement. Prices and enhancement options are as of 31 October 2026.
Topaz Image Upscale at a glance
| Setting | Available control |
|---|---|
| Required input | image_url |
| Enlargement | upscale_factor from 1 to 4, default 2 |
| Default enhancement | Standard V2 |
| Output | jpeg or png, default jpeg |
| Face enhancement | On by default |
| Face enhancement strength | 0 to 1, default 0.8 |
| Face enhancement creativity | 0 to 1, default 0 |
| Subject detection | All, Foreground or Background |
| Crop to fill | Defaults to false |
How much does Topaz Image Upscale cost?
Raywake prices the output image by megapixel band. Check the target image size, not only the source file, when selecting a budget.
| Output size band | Price per image |
|---|---|
| Up to 24 MP output | $0.13 |
| Up to 48 MP output | $0.26 |
| Up to 96 MP output | $0.51 |
| Up to 512 MP output | $2.16 |
Here, “up to” describes the output-size threshold. These rows are not the same as a default-options price ceiling. Quote your actual source image and scale factor to get the applicable amount.
Increasing a linear scale factor increases both width and height, so the output pixel count rises faster than that factor alone. That is why a seemingly modest enlargement can move an image into another price band. Do not choose the largest setting automatically if the destination layout needs less.
Which enhancement model should you use?
The model field offers Standard V2, Standard V1, High Fidelity V2, High Fidelity V1, Graphics, Low Resolution, CG Art & Game Assets and Text Refinement. These are enhancement selections inside the Topaz request, not separate Raywake model IDs.
Use the names as starting points for a comparison based on your source. A graphic or game asset calls for different inspection criteria from a portrait. Text-heavy material should be checked letter by letter, regardless of the chosen enhancement name.
Start with the default when you do not have a clear reason to choose another option. Then compare the area that matters most: facial features, lettering, a fabric pattern or a sharp object edge.
How do face recovery and subject controls work?
face_enhancement defaults to true. Its strength defaults to 0.8 and creativity to 0; both numeric controls accept values from 0 to 1. Keep those values explicit when making a comparison so you can identify what changed.
For a portrait, examine whether the enlarged face still matches the source. Do not assume that enhancement restores the exact detail missing from the original. If you do not want face enhancement requested, set its switch to false.
subject_detection offers All, Foreground and Background, with All as the default. Inspect the selected areas in the result rather than assuming every object will be detected perfectly.
How to call Topaz Image Upscale through the API
The example quotes a request for a source photograph with the default enlargement factor and explicit output format. Replace the example URL with your own image.
curl --fail-with-body https://api.raywake.com/v1/quotes \
  -H "Authorization: Bearer $RAYWAKE_API_KEY" \
  -H "Content-Type: application/json" \
  -d '{"model":"topaz-upscale-image","input":{"image_url":"https://example.com/landscape.jpg","upscale_factor":2,"model":"Standard V2","output_format":"png","face_enhancement":false}}'
Notice the two uses of “model.” The outer model is the Raywake endpoint, topaz-upscale-image. The inner input.model selects the enhancement method, such as Standard V2. Putting the enhancement name in the outer field would identify the wrong thing.
This operation has no prompt input. Keep the request limited to the listed image and enhancement fields. The quotes reference explains how to read the response before proceeding.
What should you inspect after upscaling?
Compare source and result at a similar viewing scale, then inspect the enlarged output at its intended display size. Look for halos around high-contrast edges, changed lettering, repeating texture and facial details that no longer resemble the source.
For a landscape, focus on branches, rock edges and the transition between water and sky. For a product, focus on the logo, label and silhouette. An output can have more pixels while still needing editorial review.
Choose JPEG or PNG according to the destination's accepted formats. Both are available, but there is no separate compression-quality input. Avoid adding undocumented settings from a different image service.
Common questions
What is the largest scale factor?
upscale_factor accepts values from 1 to 4. The default is 2.
Does Topaz create an image from text?
Not through this endpoint. It requires image_url and has no text-prompt field.
Can I switch face enhancement off?
Yes. Set face_enhancement to false instead of relying on its default of true.
Is pricing based on the source megapixels?
The price bands are based on output megapixels. Use a quote for the source and enlargement settings you intend to submit.
Upscale an image with Topaz